在iOS上拥有多选表的美丽方式
iOS-多选表
在iOS上拥有多选表的美丽方式


工作原理:
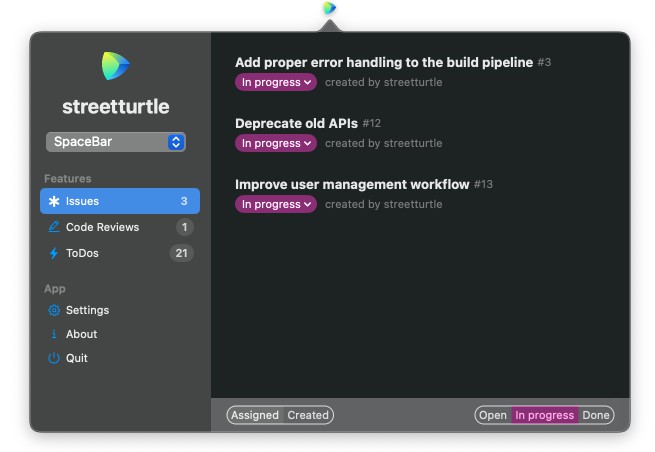
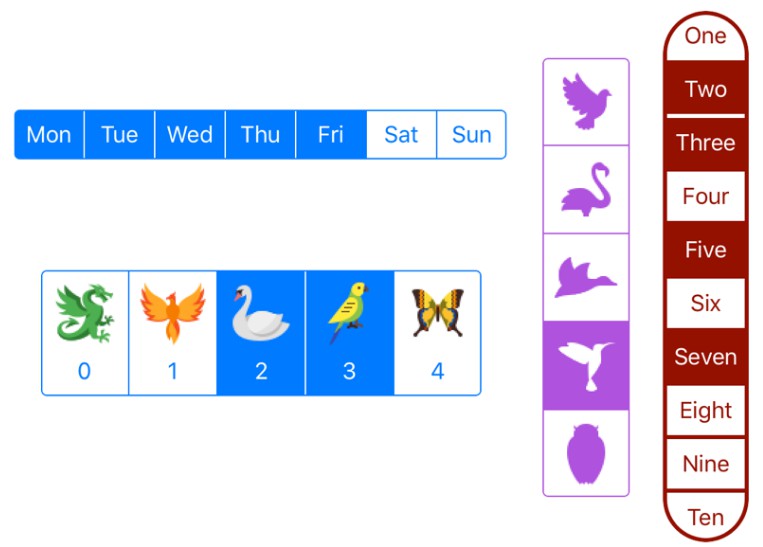
MultiSelectionTable下面是由视图和数据源组成的,与 的 非常相似。他们彼此认识并相互交流。
该视图由两个可配置的视图和一条分隔它们的线组成。数据源将数据保留为 s 显示。UITableViewUITableViewDataSource/DelegateUITableViewUITableView
考虑:
(使用前,请注意以下注意事项)
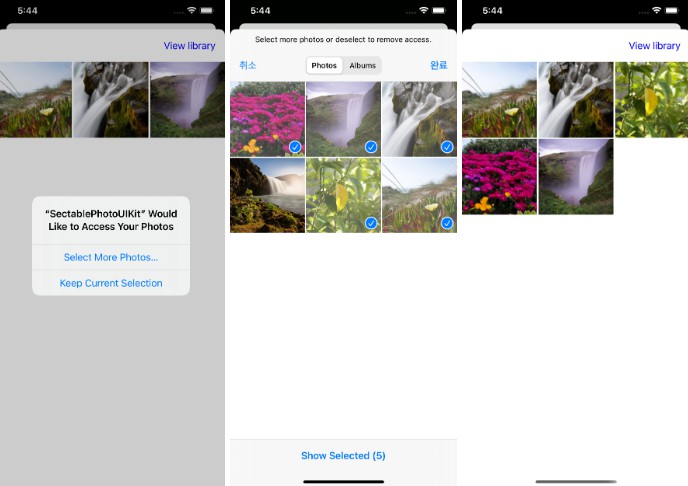
- 为了在过渡时获得良好的效果,右侧的单元格(所选单元格)必须与左侧的单元格(所有项目单元格)相等。
- 要显示的项对象必须符合协议,以便控件可以知道在取消选择项时将项移动到何处。
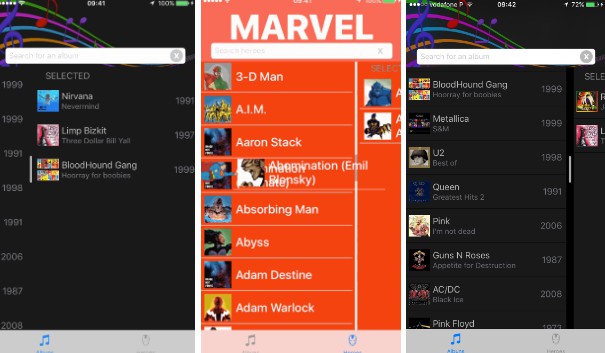
-您还可以在项目列表中分页和使用搜索。该表保留对选定项的引用。
Equatable - 漫威开发者 API 每天有 3000 个请求的限制。如果达到此目的并且您无法尝试 Marvel 示例,则需要创建一个开发人员帐户以获取凭据。然后在文件中替换它们
Heroes.Fetcher.swift
Usage:
Most basic usage:
Considering you are using MultiSelectionTableView in ViewController:
var multiSelectionDataSource: MultiSelectionDataSource<MyItem>! //MyItems must be Equatable
var multiSelectionTableView: MultiSelectionTableView!

var allItems: [MyItem] = [] //MyItem must be Equatable

override func viewDidLoad() {
     super.viewDidLoad()

     multiSelectionTableView = MultiSelectionTableView()
     view.addSubview(multiSelectionTableView)

     multiSelectionDataSource = MultiSelectionDataSource(multiSelectionTableView: multiSelectionTableView)
     multiSelectionDataSource.delegate = self
     let cellReuseIdentifier = "MyCell"
     multiSelectionDataSource.register(nib: UINib(nibName: "MyCustomCellNibName", bundle: nil), for: cellReuseIdentifier)

     multiSelectionDataSource.allItems = allItems

     multiSelectionTableView.dataSource = multiSelectionDataSource
 }

extension ViewController : MultiSelectionTableDelegate {

    func paint(_ cell: UITableViewCell, for indexPath: IndexPath, with item: Any) {
        if let cell = cell as? MyCustomCell,
            let myItem = item as? MyItem {
            //configureCellWithMyItem
        }
    }

}
Costumization
Colors style
multiSelectionTableView.controlBackgroundColor = .black
multiSelectionTableView.allItemsTableBackgroundColor = .black
multiSelectionTableView.selectedItemsTableBackgroundColor = .black
Horizontal movement width:
Depending on your cell, you might want to set the horizontal width the line moves. This value is based on the center X anchor.
multiSelectionTableView.seperatorWidthOffset = 100 //will move 100 point on both directions from the center
Animations
There are two animation types. The selection and the transition. You can customize your animations for both types. The default selection animation is a pulse starting on the tap point on the cell. The default transition animation moves a snapshot view of the selected cell to the corresponding side (depending on selection or unselection events)
multiSelectionTableView.cellAnimator = CellSelectionPulseAnimator(pulseColor: .black) // Must conform to CellSelectionAnimator
multiSelectionTableView.cellTransitioner = CellFlyerAnimator() // Must conform to CellTransitionAnimator
You can check out the animator examples.
Pagination
If you want MultiSelectionTableView to handle pagination you need to set:
multiSelectionTableView.supportsPagination = true
and you can add a target action to the control.
multiSelectionTableView.addTarget(self, action: #selector(loadMoreData(sender:)), for: .scrollReachingEnd)
Aditionally, you can have some control of when to get more data setting
multiSelectionTableView.paginationNotificationRowIndex = 5
this will call .scrollReachingEnd action 5 rows before reaching the end of the table, so you can pre fetch next page data.
Empty State View
It’s common for results to come from the web, take some time loading, and/or be empty, and/or display an error. has got you covered.
If you want to display a custom empty view, just set the with your view. For example a loading indicator:MultiSelectionTablestateView
let loadingView = UIActivityIndicatorView(
loadingView.transform = CGAffineTransform.init(scaleX: 2, y: 2)
loadingView.startAnimating()
multiSelectionTableView.stateView = loadingView
Target Actions
swift
…
multiSelectionTableView.addTarget(self, action: #selector(selectedItem(sender:)), for: .itemSelected)
multiSelectionTableView.addTarget(self, action: #selector(unselectedItem(sender:)), for: .itemUnselected)
//only called if supportsPagination is set to true multiSelectionTableView.addTarget(self, action: #selector(loadMoreData(sender:)), for: .scrollReachingEnd) …
@objc private func selectedItem(sender: MultiSelectionTableView) { print(“selected item”) }
@objc private func unselectedItem(sender: MultiSelectionTableView) { print(“unselected item”) } …
## Requirements

- iOS 9.0+
- Xcode 8.0+

## Installation

<details>
<summary>Cocoapods</summary>

MultiSelectionTable is available through [CocoaPods](http://cocoapods.org). To install
it, simply add the following line to your Podfile:

```ruby
platform :ios, '9.0'
use_frameworks!

pod 'MultiSelectionTable', git: 'https://github.com/nunogoncalves/iOS-MultiSelectionTable'
(Currently MultiSelectionTable is still not yet published to Cocoapods, so for now you need to add .swift git: 'https://github.com/nunogoncalves/iOS-MultiSelectionTable'
Manually
Copy the contents of [Source](https://github.com/nunogoncalves/iOS-MultiSelectionTable/tree/master/Source) folder into your project and you’re ready to go.
TODOs
Missing features and/or bugs can be found in the Issues section.
Author
Nuno Gonçalves
| nunogoncalves | @goncalvescmnuno |
Contribute
Feel free to contribute to MultiSelectionTable. Check Issues before asking something or adding some contribuition that’s already being done.
Licence
iOS-MultiSelectionTable is available under the MIT license. See the LICENSE file for more info.
Final note
If you use in a production app, let me know. I’ll be very flattered and pleased and sure want to be aware of it. 🙂MultiSelectionTable